Sourdough Bread
Recipe: Sourdough Bread
One of the most remarkable things about sourdough bread is that just three ingredients, time, and technique, can yield such a satisfying combination of textures and flavors. Making sourdough bread is a process. There is no real way to sugarcoat it, but since we all have a bit more time on our hands at home, what better time to try! We’ve done our best to simplify things with this recipe, but if you’re working from scratch with a new starter, it’ll take almost a full week before you get your first loaf. If you’re lucky enough to have received a pre-loved starter from someone, then a successful loaf is just about an hour of undivided attention over two days.
Breadmaking at Cow House didn’t become a mainstay at meals until Caitriona came on full time three years ago. Her love for the process began at a young age when she would cross the yard to her Nana’s house on a Saturday to help bake her amazing white soda bread and homemade tarts. She always wanted to get involved mixing and kneading, witnessing the transformation from flour and water to a loaf of bread on the table served with super. At Cow House, Caitriona has been able to develop this passion. With a lot of time on her hands and a table full of hungry mouths to feed during our summer programs, residencies, and gap year, she was able to experiment with sourdough and other bread, get feedback and perfect her recipes.
We have developed this particular method for sourdough over the past two years. We’ve tried and tested several starters, from homegrown to gifted. After several starters accidentally dying and experimentation with different flours, we settled on a starter with an 80% hydration using 80% organic plain sifted flour and 20% rye flour. We’ve found in our research that rye is particularly well suited for making a very active starter. It is important to note that every sourdough starter is unique and reacts differently to depending on the environment, climate, type of flour, and brand that you might be using. We use high-quality organic flours at Cow House, Doves in the UK for our strong flour, and Dunany Flour in Co. Louth supplies us with everything else.
When making sourdough and researching recipes, there can be an overwhelming amount of information. It can appear daunting and might seem like a lot of work, but after your first few tries, you’ll get a feel for the process, and it’ll become second nature. Proving the sourdough overnight in the fridge is essential for a few reasons. Firstly it slows down the fermentation process adding depth to the flavor of the bread while also helping the bread to hold its shape. We would love to hear how you get on. Caitriona has posted how to develop a starter on our Instagram account, and we’re also working on getting a short video out there in the coming days. Send us some pictures of your results! You can always reach out if you’re having a bit of trouble.
Sourdough Starter: Ingredients
40g plain flour
10g rye flour
40g lukewarm water
Method
On the first day, mix the flour and water, cover, and leave in a warm room. For the next four days, feed the starter the same amount of flour and water. You should notice the starter getting more active and forming more bubbles each day. The starter should be ready for use on day 5.
Following this initial five day period, you must continue feeding the starter. To do this, you discard roughly three-quarters of the starter and add 80g plain flour, 20g rye flour, and 80g lukewarm water. At Cow House, we feed our starter every day if we’re preparing the bread regularly. If we’re not planning to use it for a while, we place it in the fridge and feed it once a week.
We hate to waste good starter, so more recently, we’ve been experimenting with savory and sweet pancake recipes. Once we feel like we have a few solid options, we’ll post them here. Another option is to gift a friend some of your discarded starter. The longer you keep the starter, the better the flavor!
Sourdough Bread: Ingredients
600g strong white flour
150g wholemeal flour
150g sourdough starter
450g lukewarm water
15g sea salt
Method
After you feed the starter on day five, it will be ready for use after about three hours. If you’re making a batch with an older starter, you’ll want to discard roughly three-quarters of it and add 80g plain flour, 20g rye flour, and 80g lukewarm water about three hours before use.
Begin by adding your active starter to lukewarm water and mix, leaving it to sit for five minutes. Add in the flour and combine, when it comes together it should form a sticky dough. Refer to the pictures below, if the dough seems too dry, wet your hand and mix again, adding small amounts of moisture. Repeat as necessary to achieve the desired result. Cover with a tea towel and leave to rest for thirty minutes up to one hour.
After the resting period, add in the sea salt and mix well with your hands to combine. Using a dough hook on your stand mixer, kneed the dough for ten minutes at a low speed. If you don’t have a mixer, you can knead the dough manually.
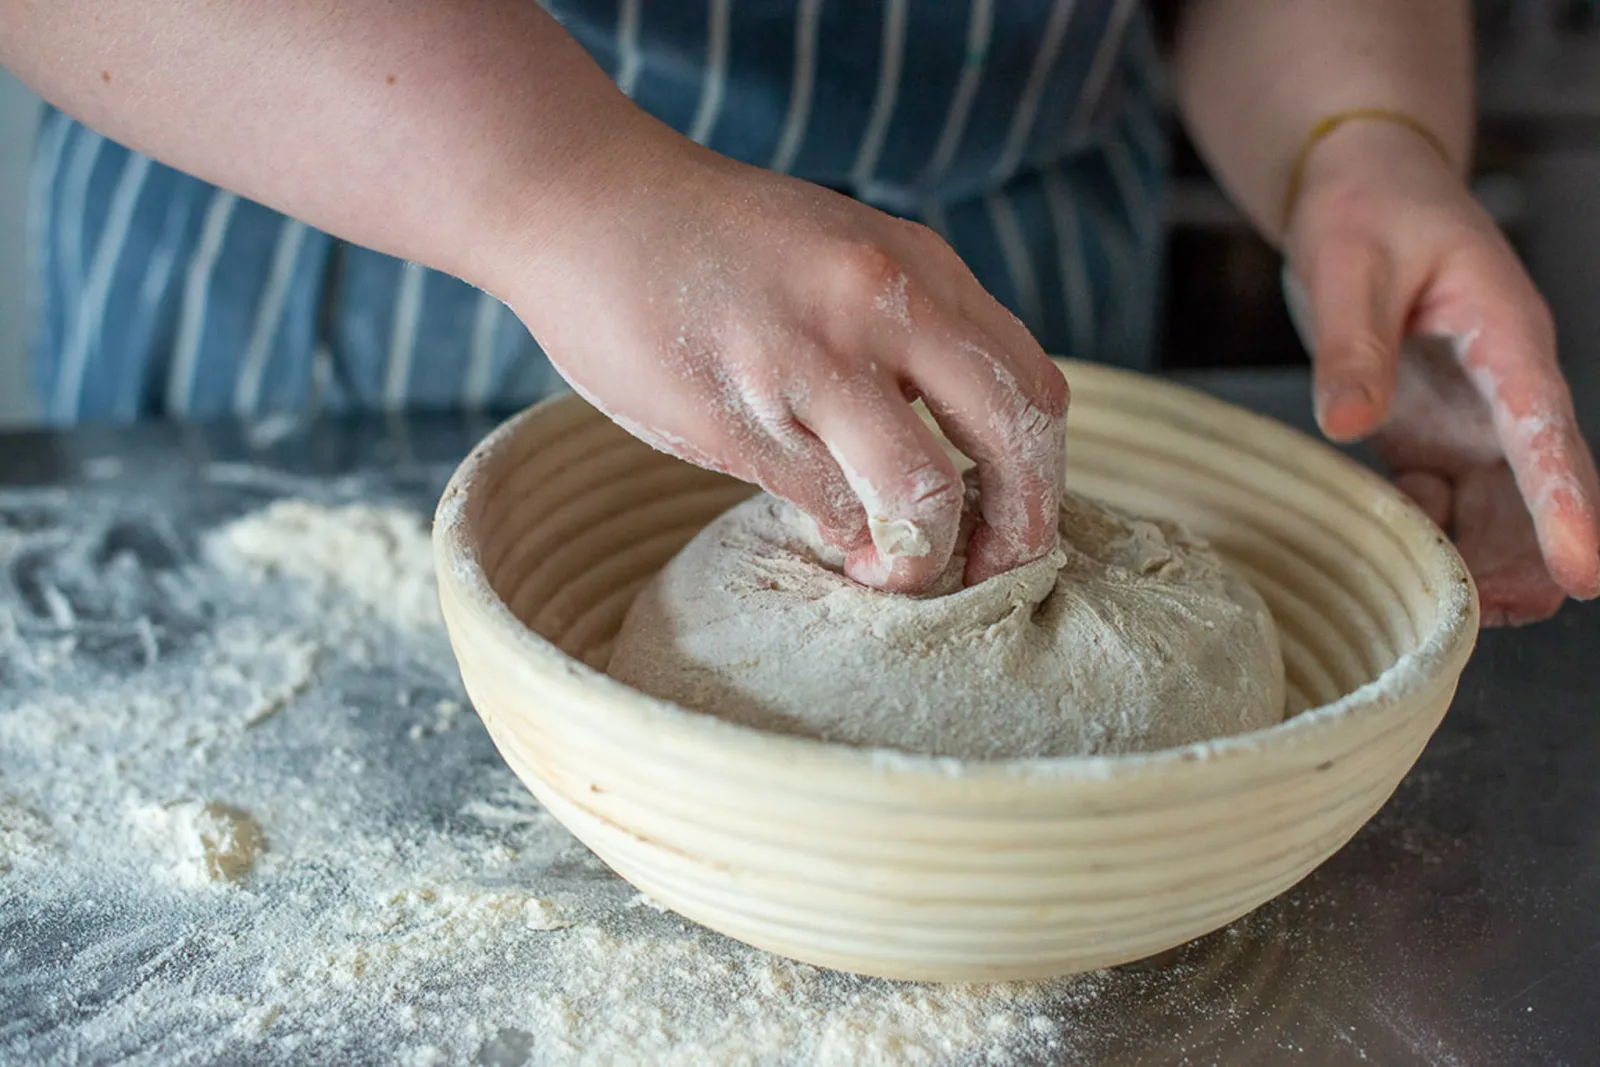
Using damp hands, remove the dough from the bowl. On a work surface, pull the dough from the top and fold it back into the center. Now pull the dough from the bottom and fold this back in. Follow this process again to the left and right. Repeat this process, folding each of the sides twice. Leave the dough to rest for about ten minutes, and repeat the stretching process once again folding each of the sides another two times.
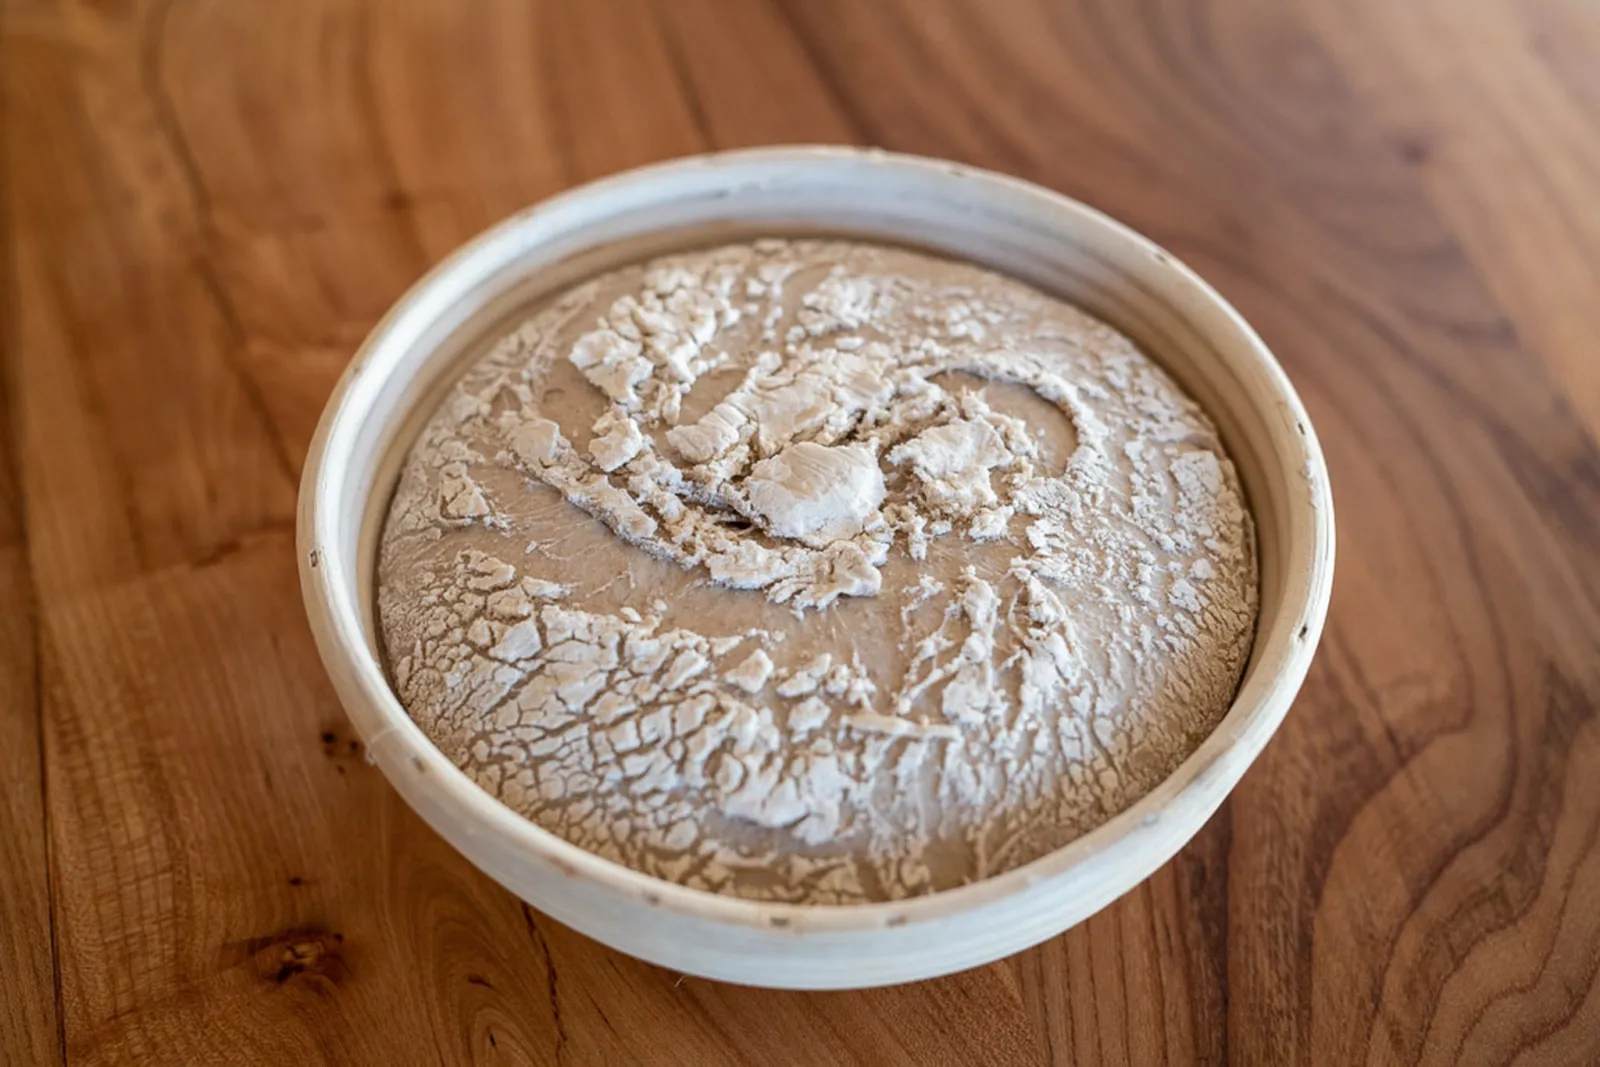
Once the bread has been folded, you can shape the bread. Using damp hands, shape the dough with your hands into a ball. Dust the dough with flour and shape it into a tight ball, closing in the seal at the bottom of the base. Lastly, put the dough into your proving basket dusted with flour facing the seal upwards. Dust the top with plenty of flour, cover the proving basket with cling film, and leave it out at room temperature for about an hour or so then, in the fridge overnight.
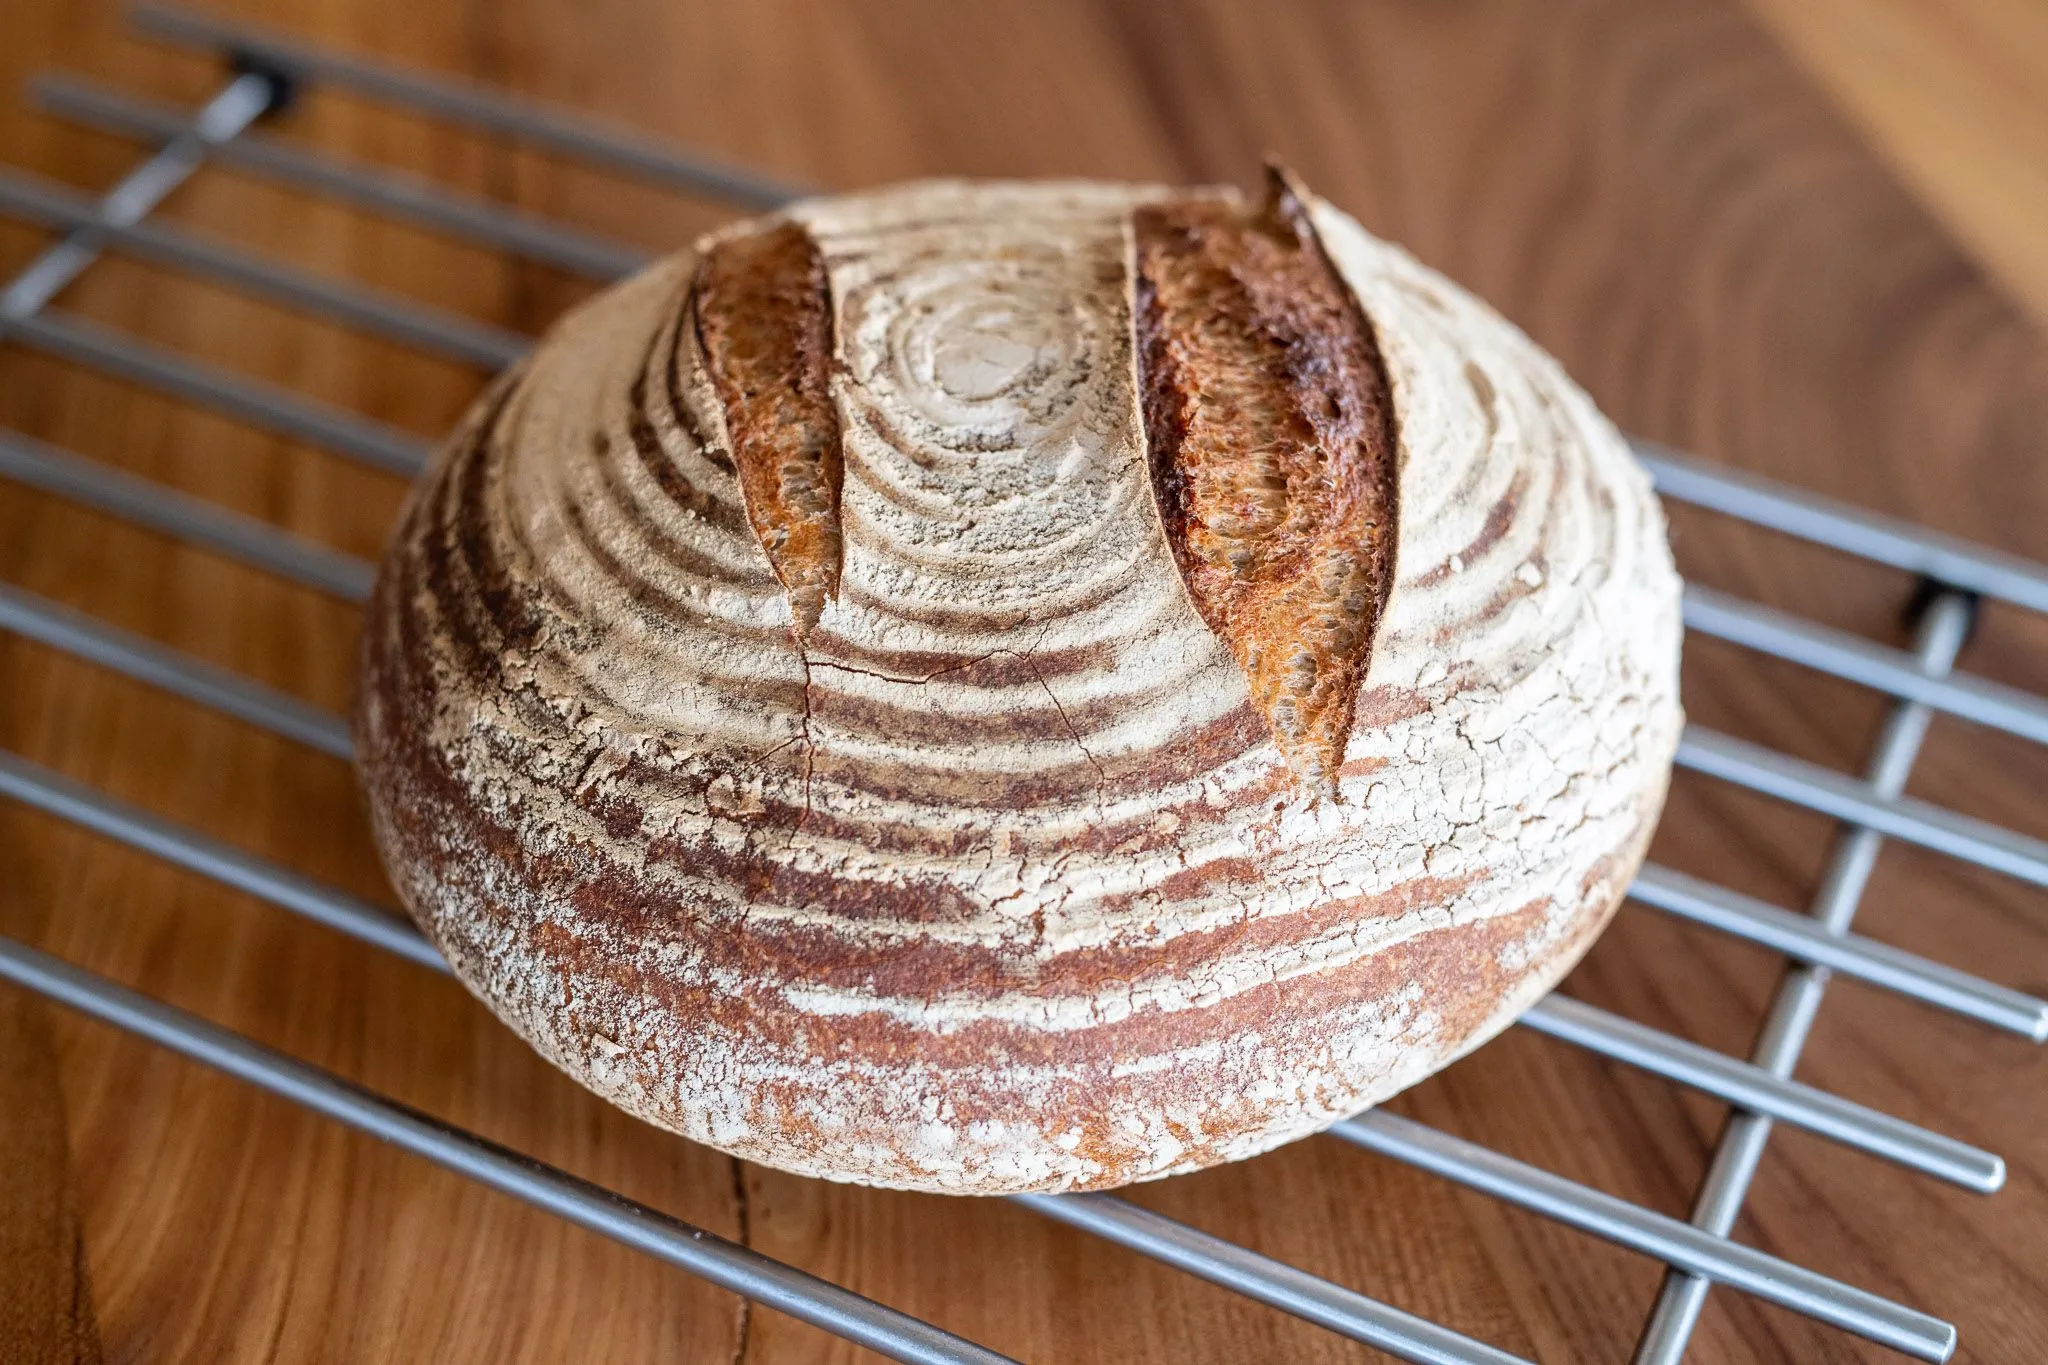
The next day preheat your oven to 250℃. You want your dutch oven piping hot, so place it in the oven while it’s getting up to temperature. When the oven has reached its cooking temperature, take out the dutch oven and place the dough into it by flipping the basket out into the pan. Using a sharp knife slit the dough on top. Place the lid back on and bake for twenty minutes, then turn down the oven to 200℃ and bake for another ten minutes. Finally, remove the lid from the dutch oven and bake for a further fifteen to twenty minutes. It is best if you leave the sourdough sitting for a few hours before cutting, a duration of time that will surely be a stiff test of your willpower!